Step 1: Login to FortiGate dashboard
Connect FortiGate Firewall Port 1 to computer, visit 192.168.1.99 in a web browser.
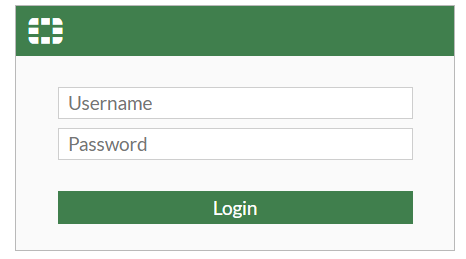
For first time login, enter username and click "login".
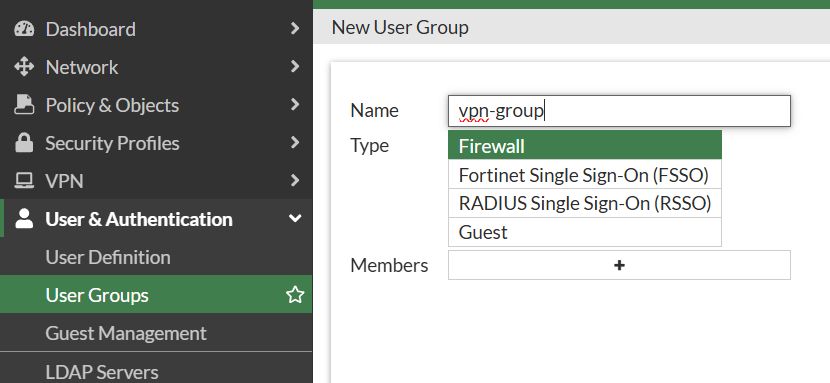
Step 2: Create local user account
Create a group.
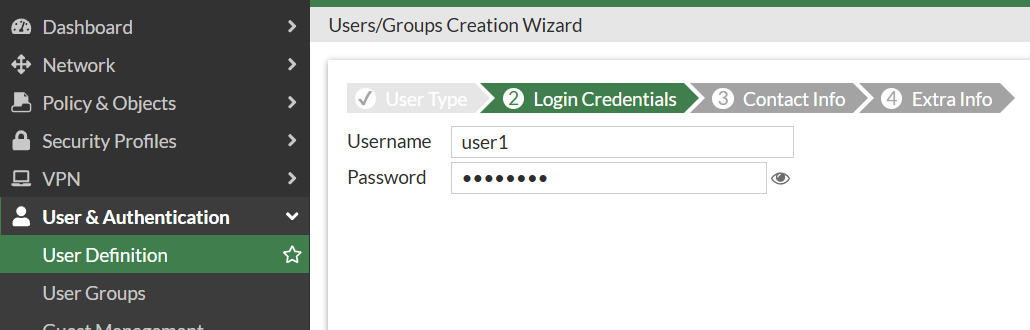
Create user account.
Choose user type and create username and password.
Enabled user group and assign it to the corresponding user group.
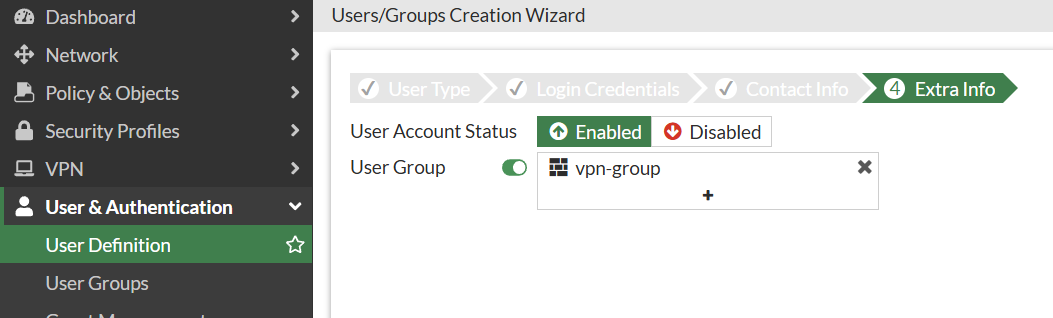
Now, we have completed the creation of user accounts.
Step 3: Create a firewall address for the local subnet
Note: Do not just fill in the firewall's interface IP!!
If you just fill in 192.168.1.99, VPN user can only access firewall itself.
If fill 192.168.1.0, VPN user can access all the company's servers and computers.

Step 4: VPN tunnel configuration
Create tunnel name.

For client range, to avoid conflicts with company's existing LAN segment (e.g. 192.168.1.x), it is recommended to assign a completely independent private network segment to VPN dial-up users.

Set a Pre-shared Key and choose IKE Version.

Phase 1 Proposal

Phase 2 Proposal

For IKE 2, Extensible Authentication Protocol (EAP) is required, enabled this via CLI.
config vpn ipsec phase1-interface
edit "ravpn"
set eap enable
set eap-identity send-request
set authusrgrp "vpngroup"
end
Also enable Perfect Forward Secrecy (PFS) for phase2.
config vpn ipsec phase2-interface
edit "ravpn"
set pfs enable
unset src-subnet
next
end
Now, tunnel configuration complete.
Step 5: Create firewall policy
Cancel NAT selection.

Step 6: Create Dynamic DNS
Go to Network >> DNS.
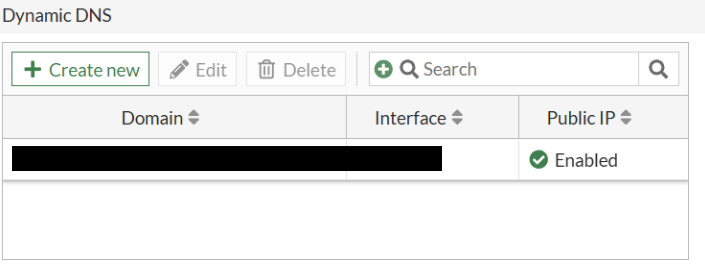
Once created, please allow a few minutes for the status to update. Public IP will become enabled and and your FortiDDNS domain will resolve to the correct IP address.
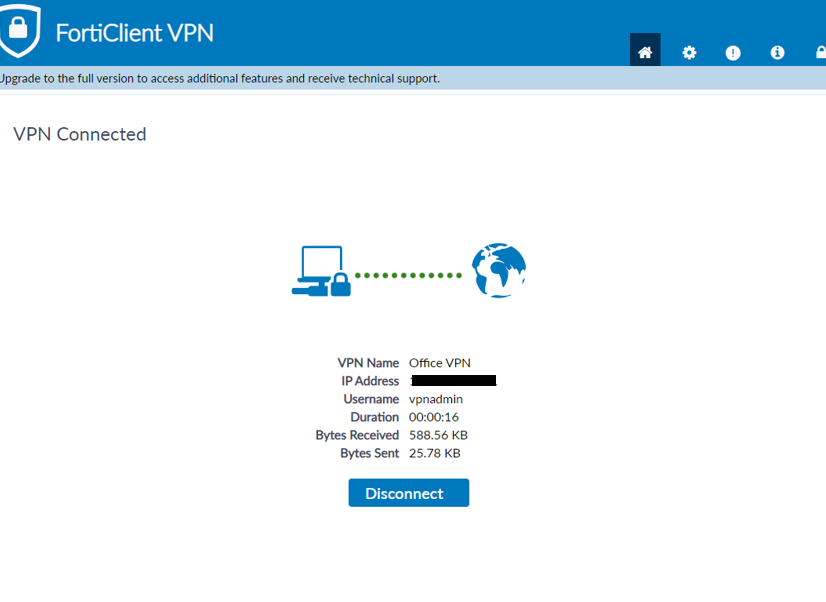
So our IPsec VPN is setup finish, now we try to connects.
Step 7: Final Test – Connecting with FortiClient
Create a new VPN connections.


Make sure DH Group only one.

Now try to connect.
This is the page showing a successful connection.